Customers in POS
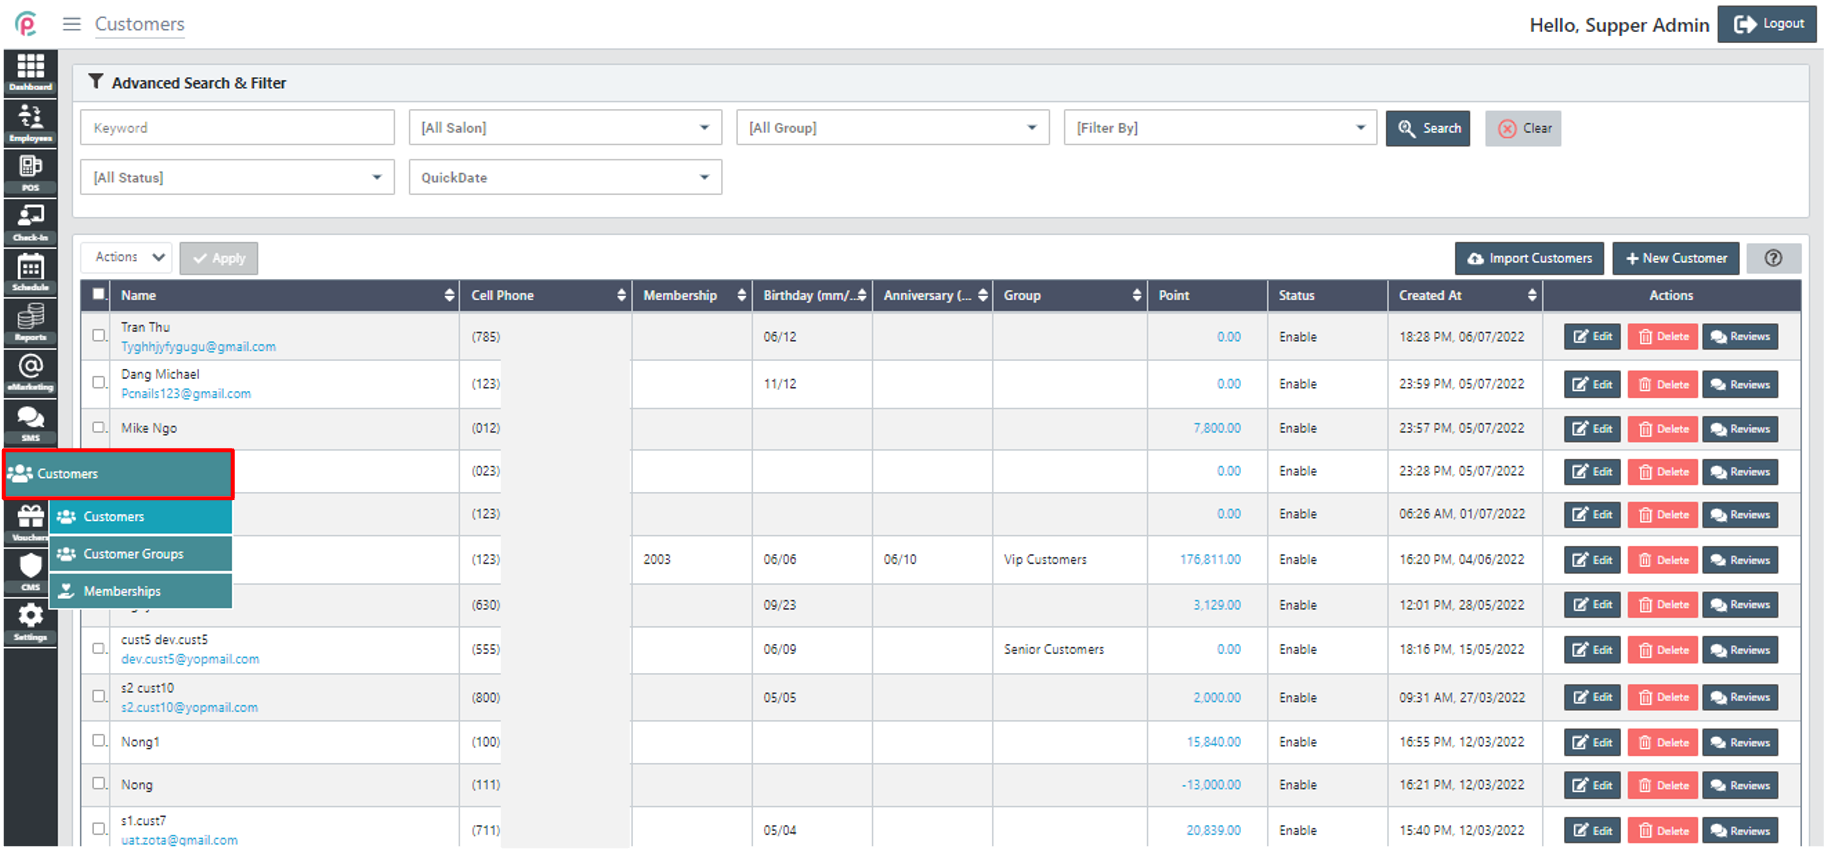
Step: (Left Menu) => Customers => Customers
- We can connect the records of using services with the customers. If we have set up a loyalty program, we can give registered customers bonus points for each purchase, and they can exchange these points for a discount.
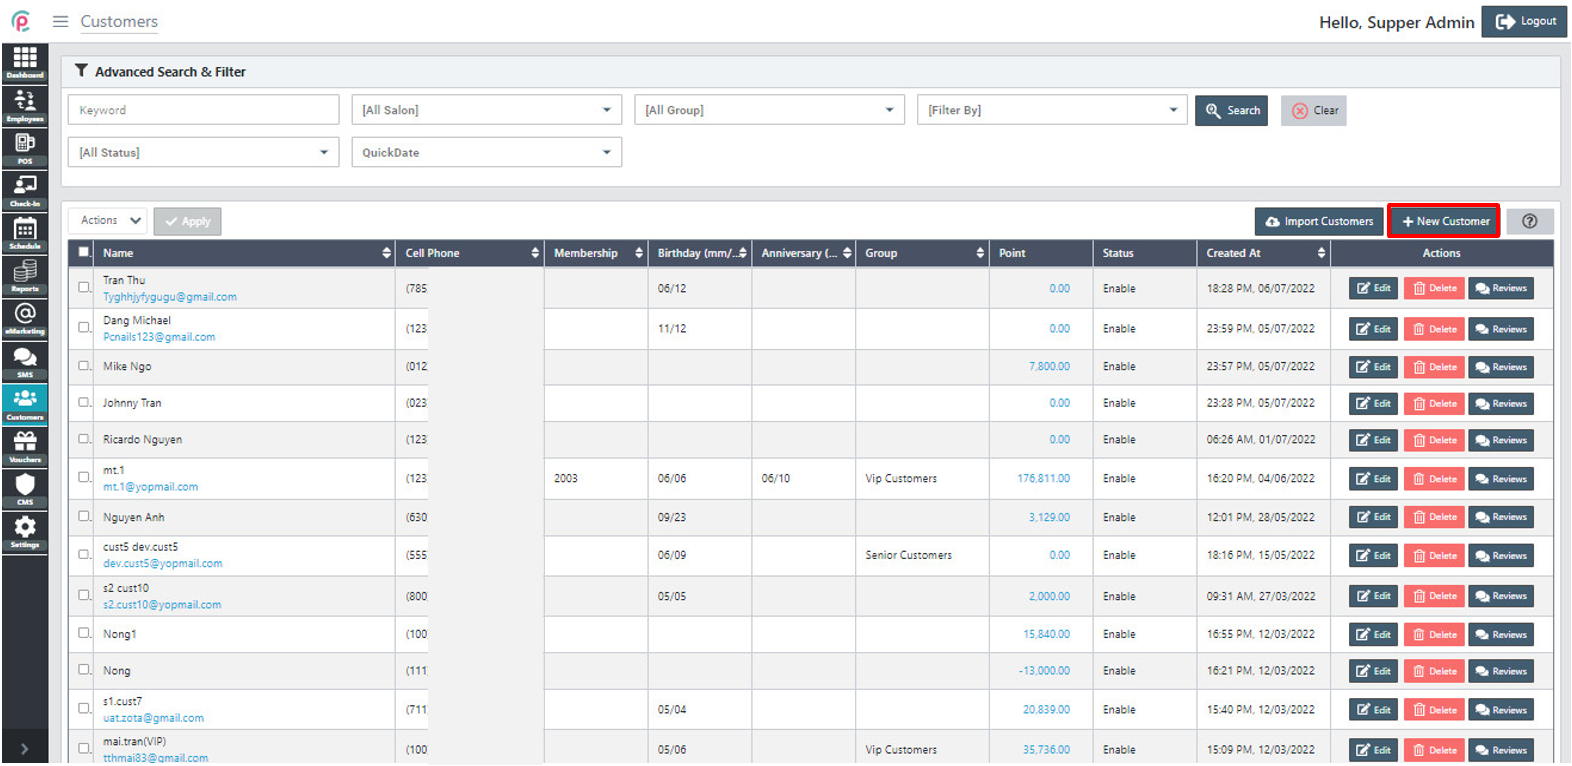
- To create a “Customer”, click “New Customer”.
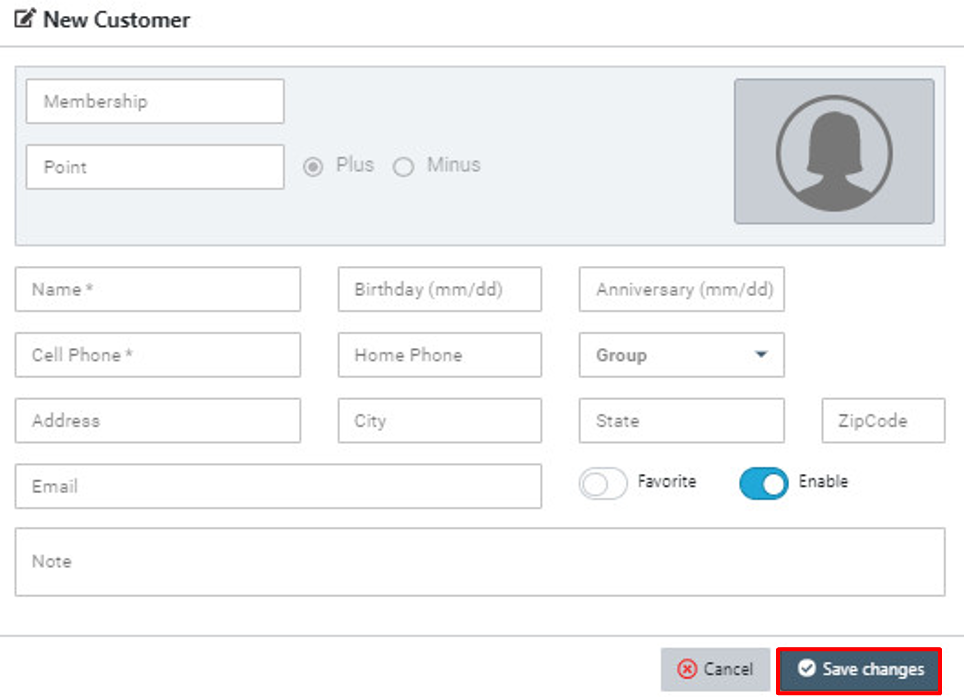
- We have to fill in at least one of the fields: Name, Email, or Cellphone to determine the customer and others are optional and click “Save changes”.
Import Customers: We can download customer template files from POS and fill all customers before importing to back POS
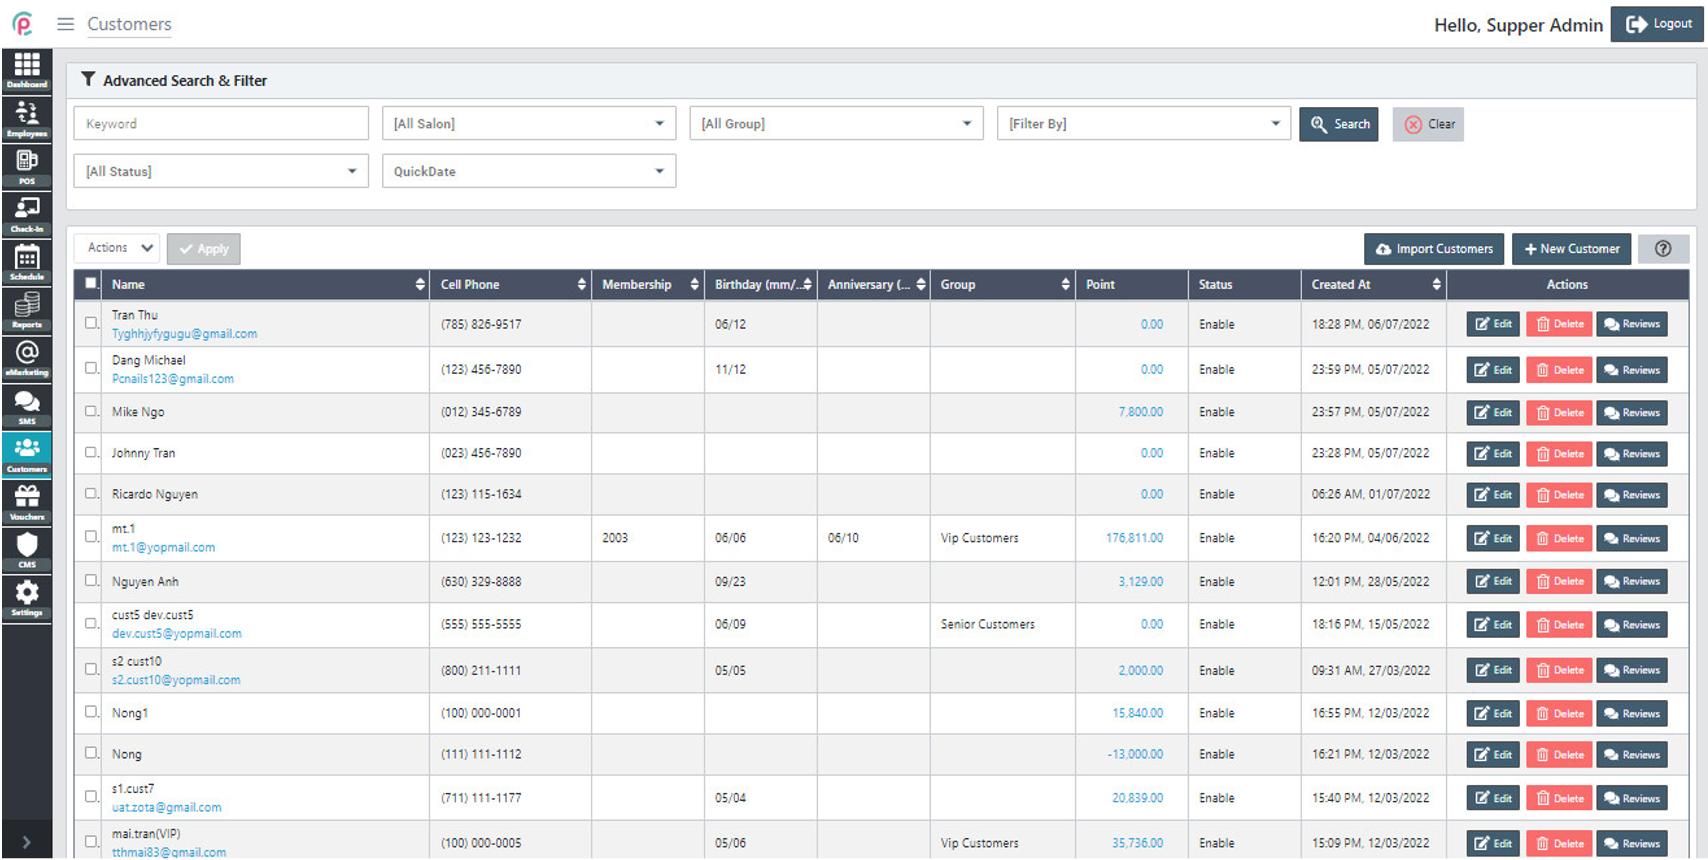
To search for Customer via the toolbar and the filter, select the information “Keyword,” “Salon,” “Group,” “Filter By,” “Status,” “QuickDate,” “From,” “To,” and click “Search.”
- Keyword: A significant word
- Salon: A store
- Group: The group of customer
- Filter By: The removal of data
- Status: The condition of the customer
- From: The arrival date
- To: The moving date
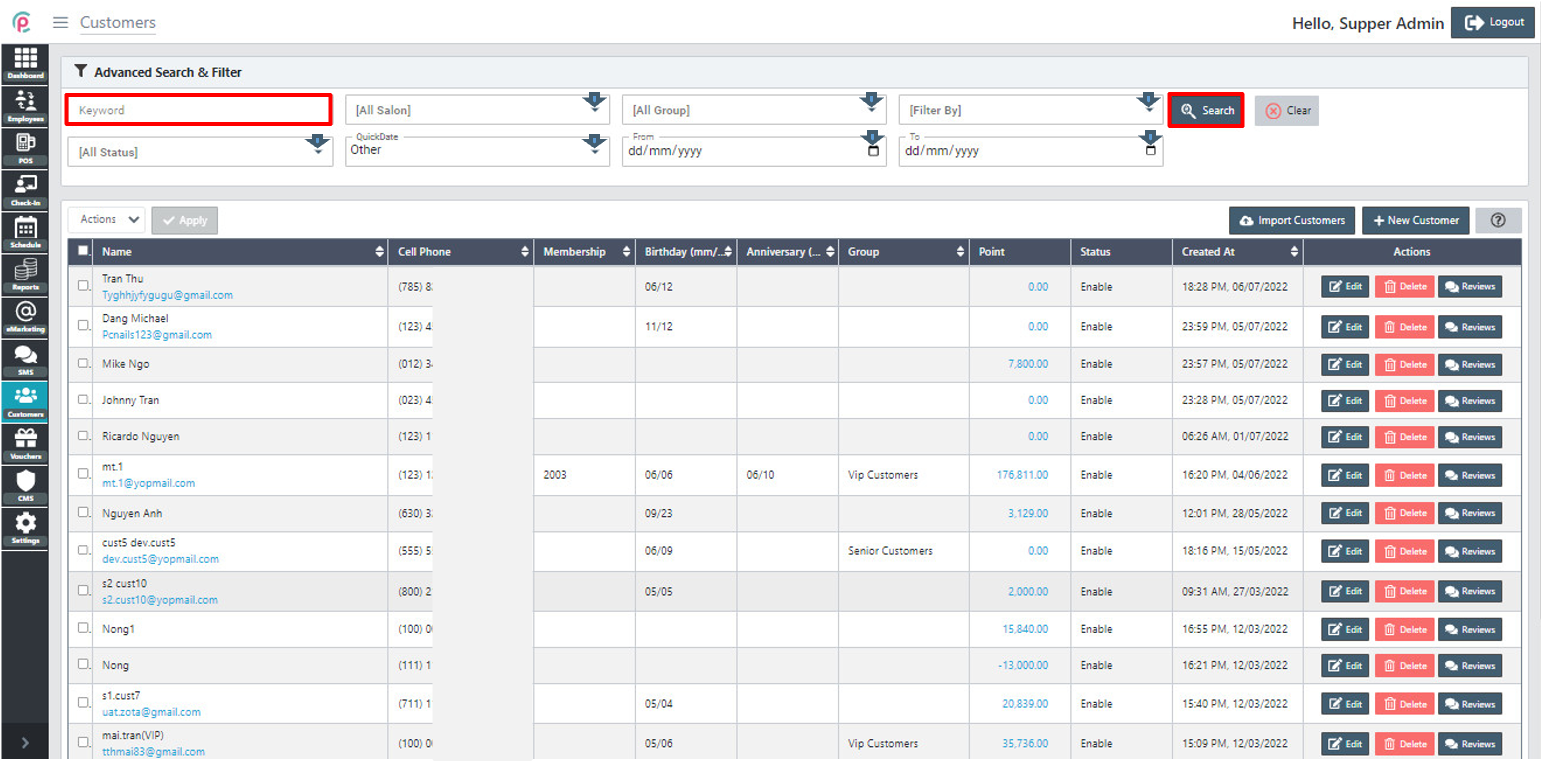
The section Customers shows the information on “Name”,“ Cell Phone”,” Membership”, “Birthday”, “Anniversary”, “Group”, “Point”, “Status”, “Created At”, and “Actions”.
- Name: Customer's name
- Cell Phone: The customer's number phone
- Birthday: The customer's birthday date
- Membership: Serial number created by owner
- Anniversary: The anniversary date
- Group: The name of the customer group
- Point: Earning points
- Status: Enabled or Disabled
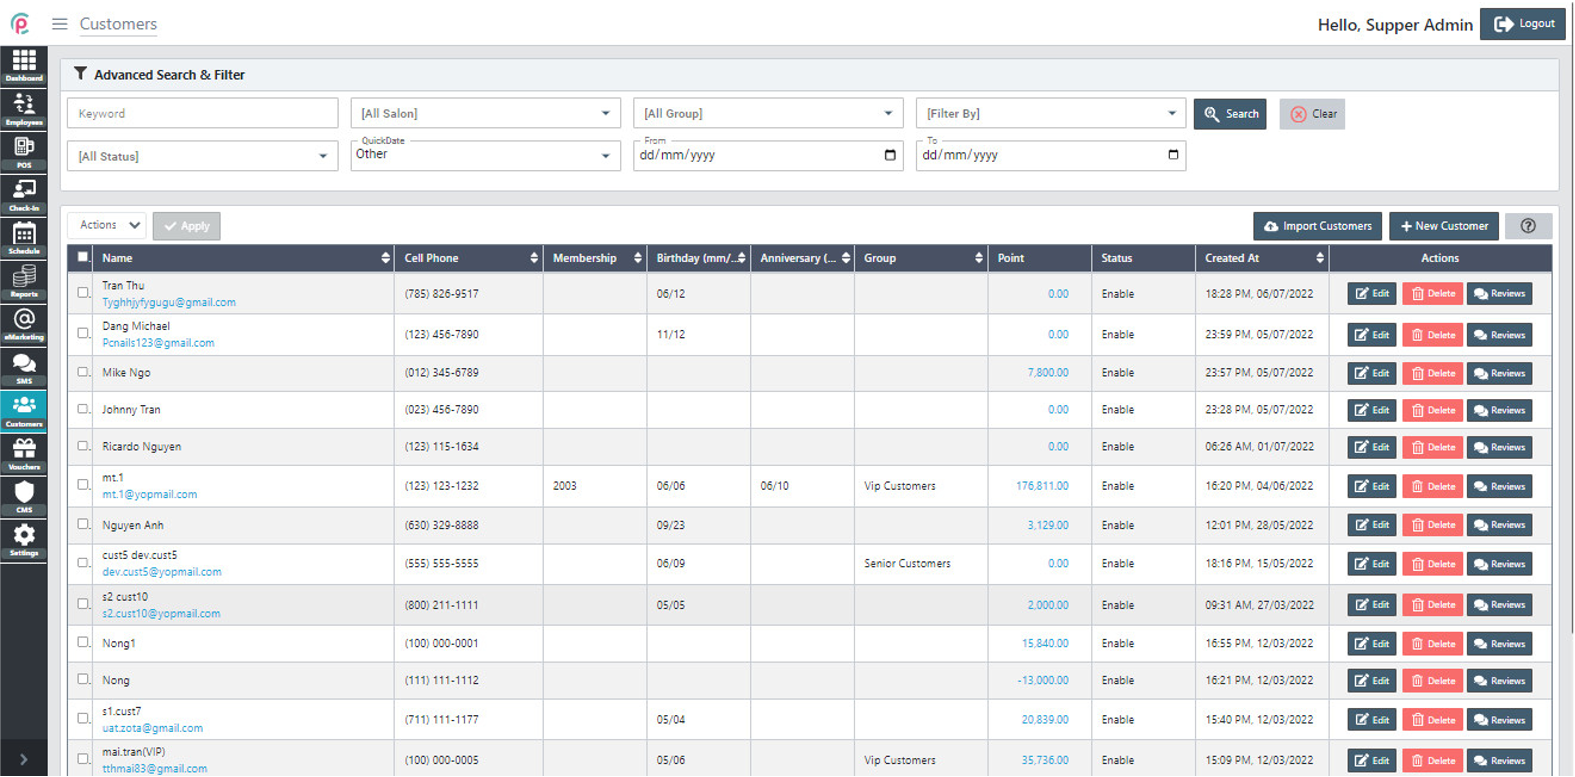
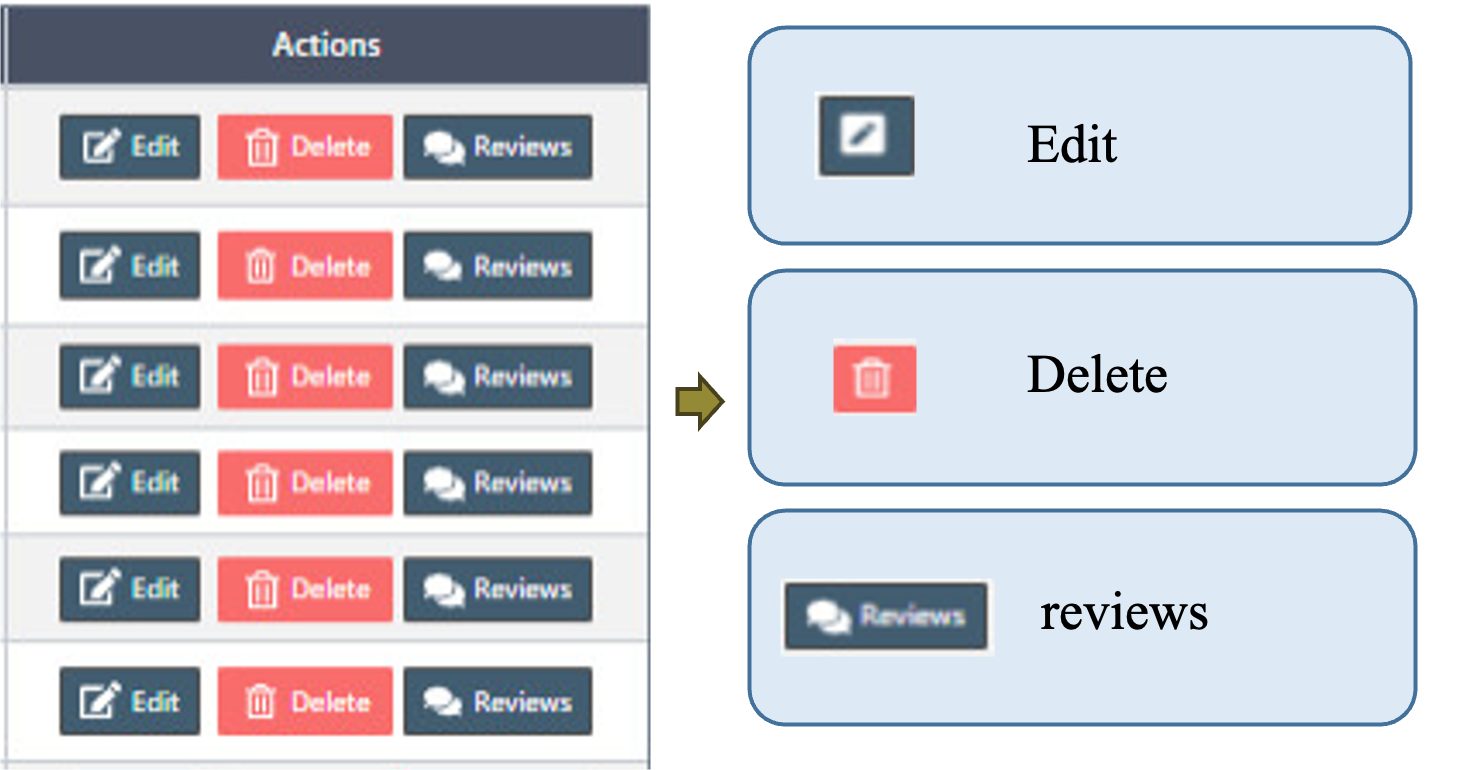
Get started "Action"
