How to setup the Epson TM-T20 series receipt printer with or without a cash drawer.
Step 1: Download & Install Driver
First, we will install the printer using the manufacturer’s driver (as any other regular printer).
1. Download the driver from here
2. Locate the driver in the designated downloads folder. It should be named “APD_501_T20II_EWM.zip“.
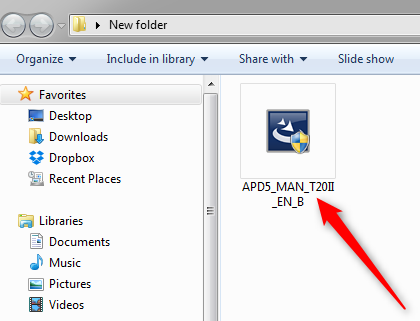
3. In the folder, locate the actual driver package to be installed, “APD5_MAN_T20II_EN_B.exe“.
4. Connect the Epson receipt printer to your computer.
5. Double-click on the file to install it.
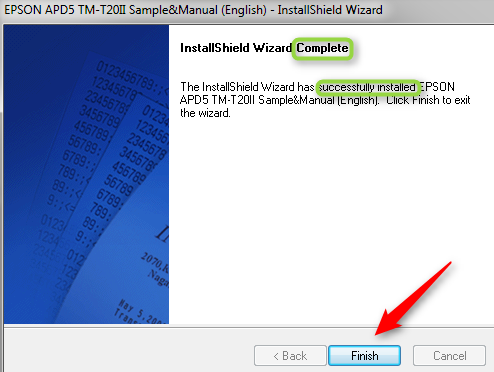
7. Follow the prompts. It should install and display a “successful” message once complete.
Step 2: Add Printer in Devices and Printers
Now make sure the printer has been installed and added under Devices and Printers.
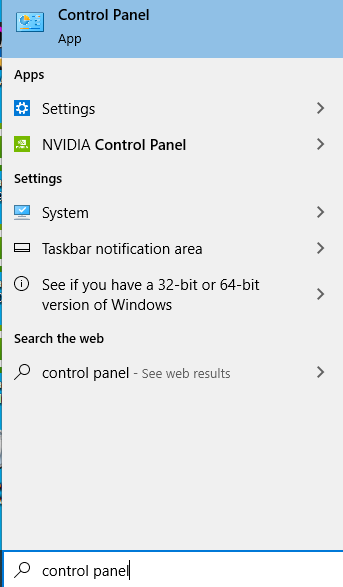
1. Type “Control Panel” in your Windows search bar.
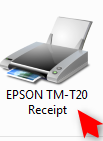
2. You should see your “Epson TM-T20″ printer under “Printers.” Make sure it is solid just as the image shows.
Step 3: Set Receipt Printer in PCNails POS
Now, it is time to set it up in PCNails POS so that it prints receipts.
- In PCNails POS, go to “Printer Configuration.” (Menu > Settings > Printer & Receipt).
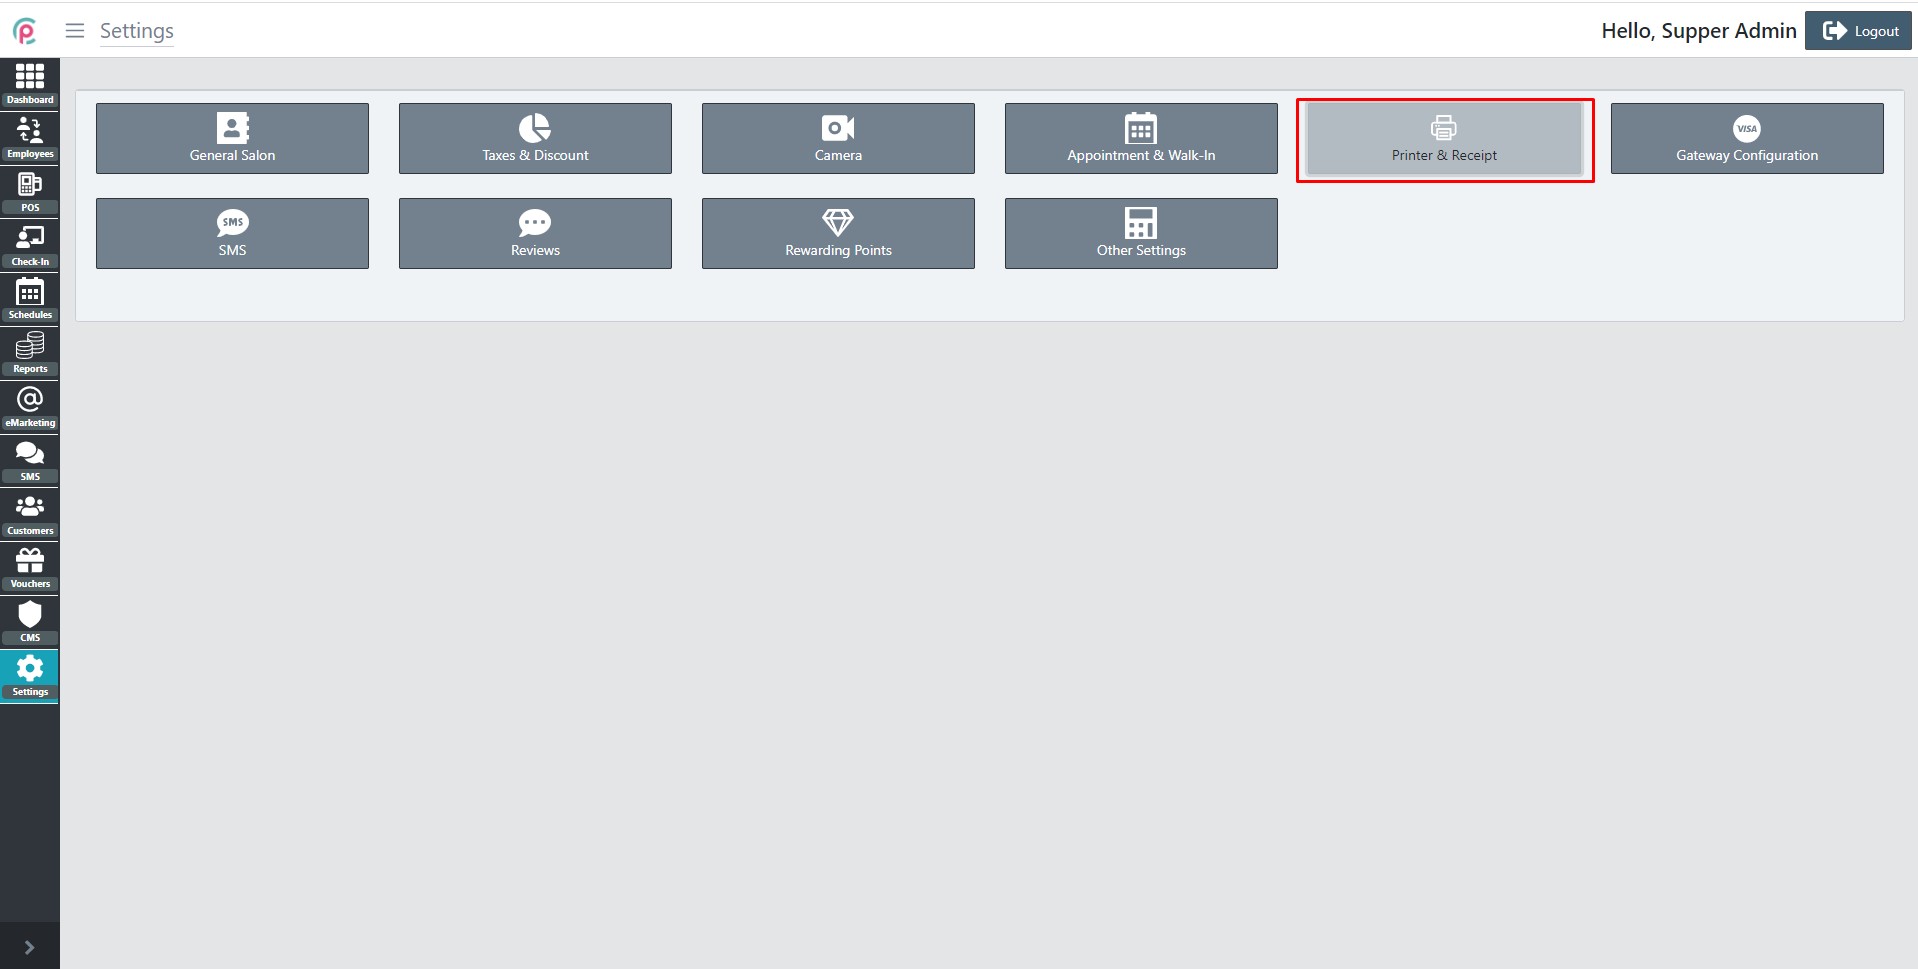
- Configure the Epson printer following this image.
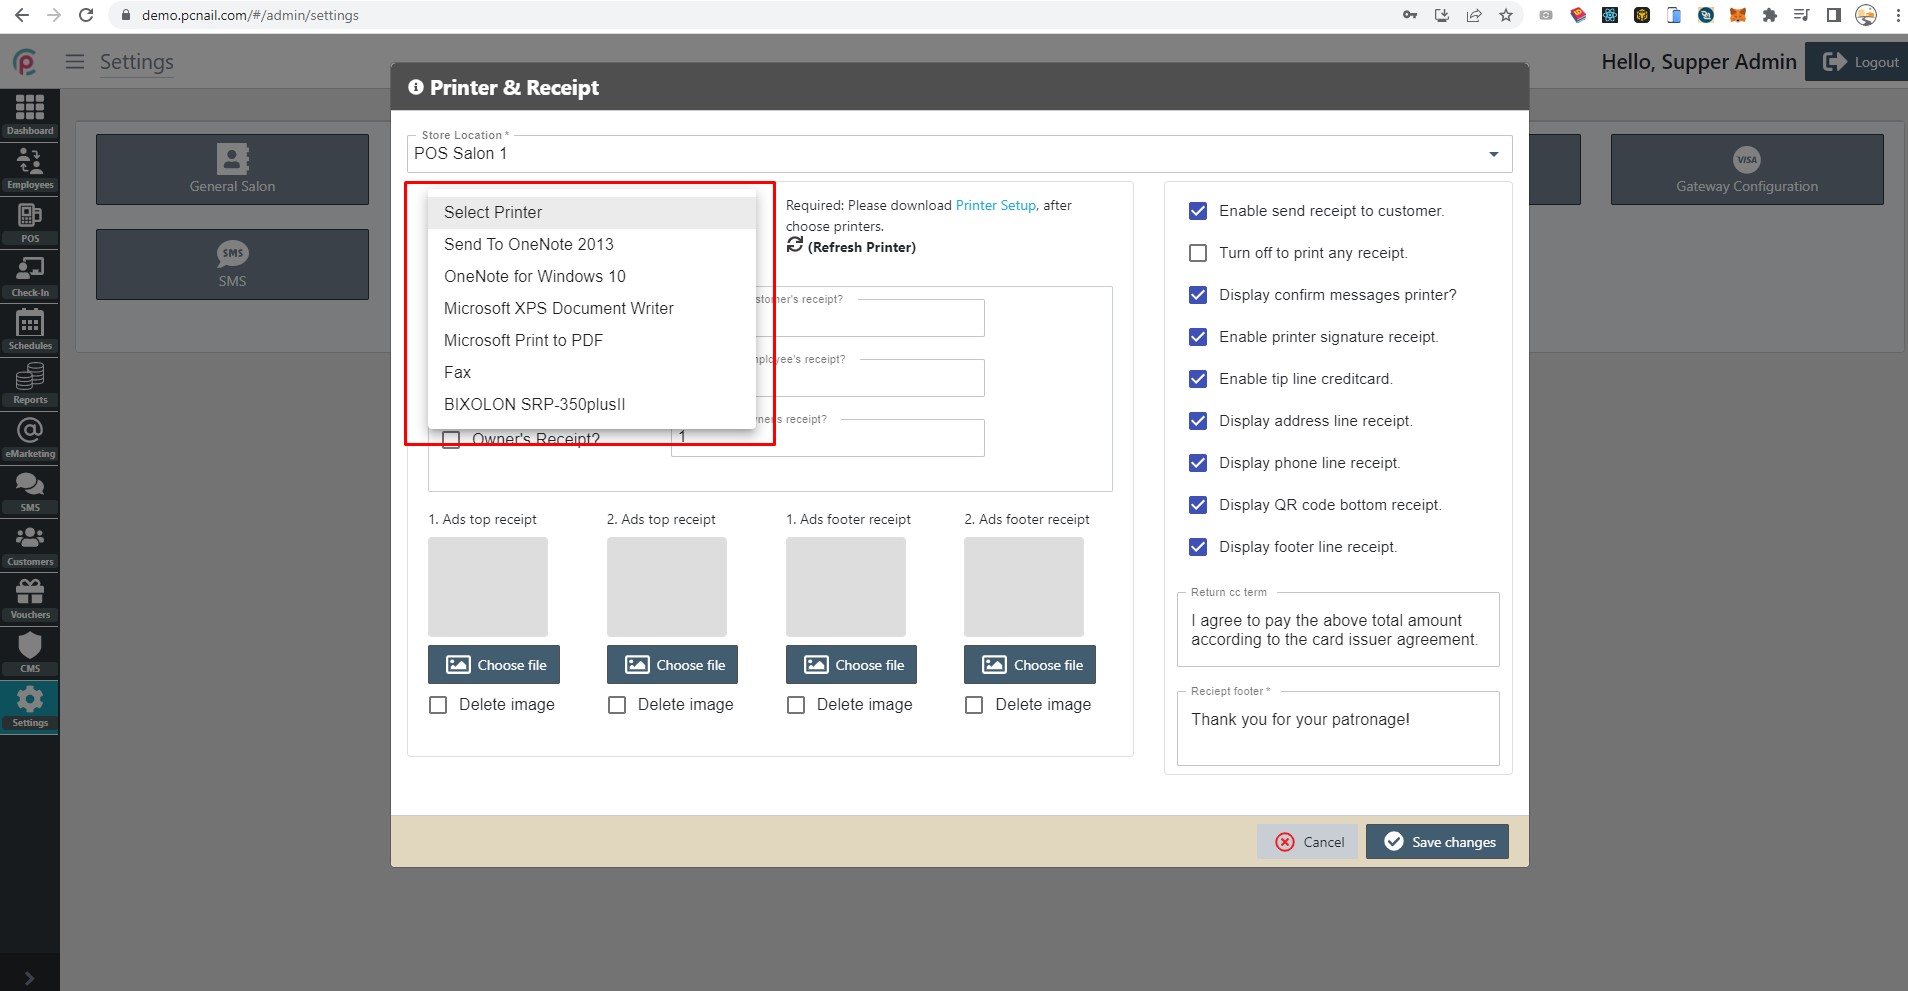
3. The most important setting here is “Printer Model.” If you will use a cash drawer attached to this printer, make sure “Epson Compatible” is selected as the option.
If you are not using a cash drawer with this printer, this is your last step, and you do not need to follow the rest of these instructions. It might be a good idea to press the “Test” button to make sure your printer is functioning properly.
