eMarketing - Campaigns
We can use Marketing section to follow the store Campaigns
How to use the section Marketing Campaigns at eSpa247 POS software.
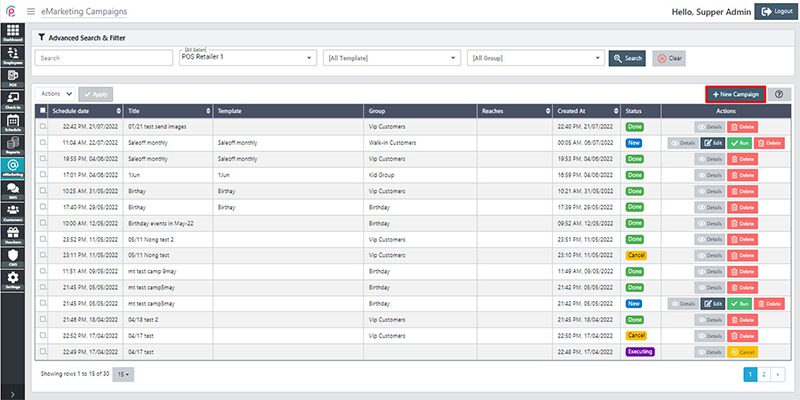
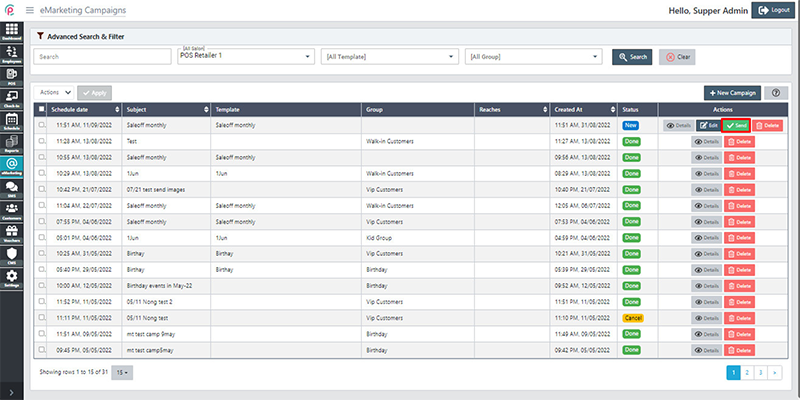
In order to create new Campaigns, click “New Campaign”.
After the window “New Campaign” appears, enter necessary information in the form: “Location Salon”, “Campaign Event”, “Group”, “Campaign Template”, “Schedule date”, “Subject”, and “Body” and click “Save changes”.
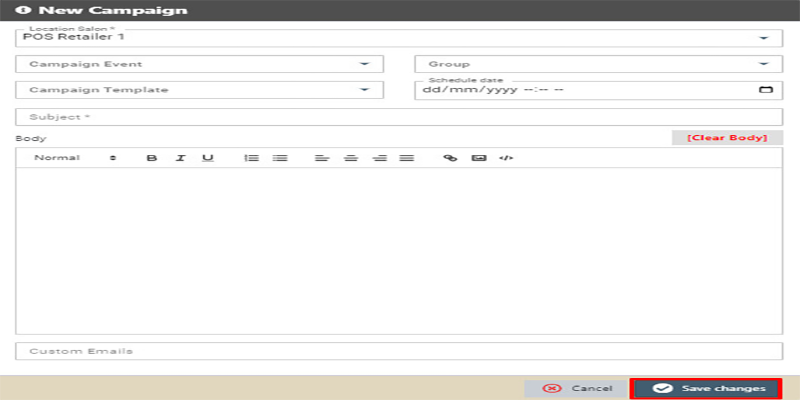
After finishing, we have to perform the “Action button Send”
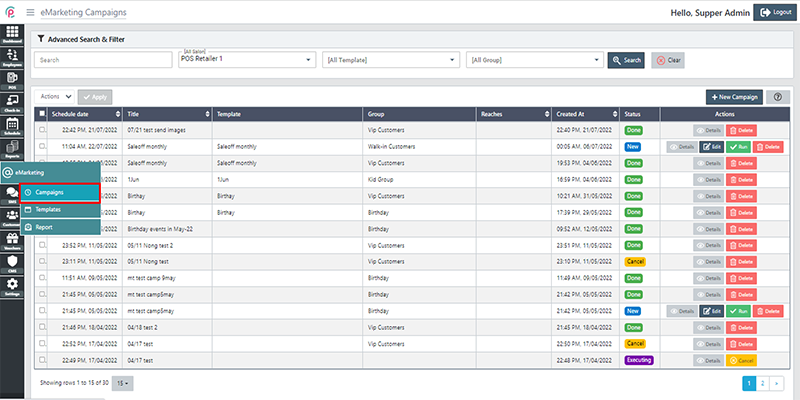
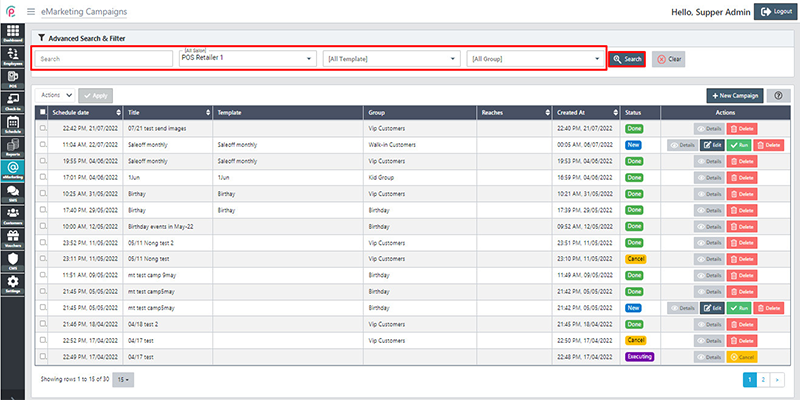
In order to search for Campaigns, select the information “Search”, “salon”, “Template”, “Group” and click “Search”.
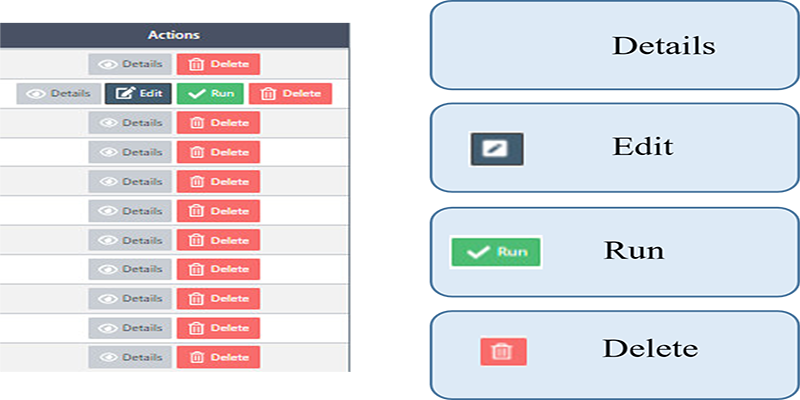
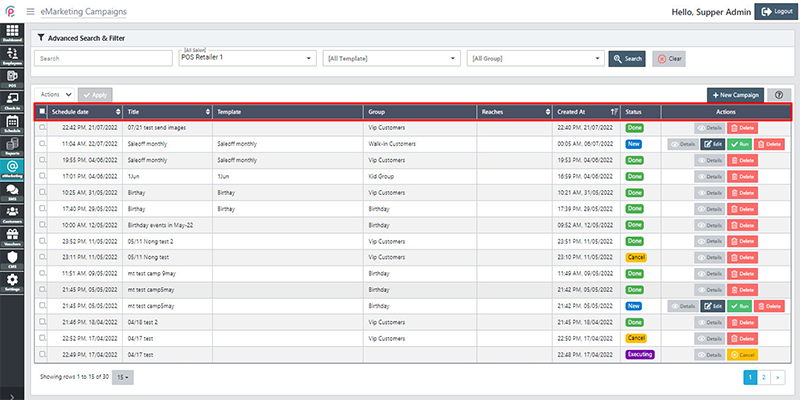
The section Campaigns shows the information on “Schedule date”,“Title”,“Template”, “Group”, “Reaches”, “Created At”, “Status”, and “Actions”.
- Schedule date: The date of completion of the project
- Title: Name of Campaign
- Template: The model or format for planning
- Group: Project implementation team
- Reaches: The achievement results
- Created At: The day & time to create the Campaign
Get started action